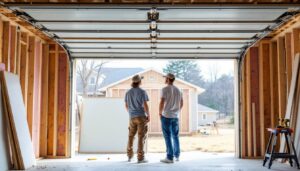
Garage door windows take a beating. Weather, temperature swings, flying debris from yard work, it’s a wonder they last as long as they do. When a pane cracks, fogs up, or stops opening smoothly, you’ve got a decision to make: call someone or tackle it yourself. Garage door window replacement isn’t always simple, but for homeowners willing to follow a careful process, it’s doable without professional help. Whether you’re dealing with a single broken light or upgrading your entire door for better insulation and curb appeal, this guide walks you through exactly what you need to know about garage window replacement and how to get it right the first time.
Table of Contents
ToggleKey Takeaways
- Garage door window replacement improves curb appeal, energy efficiency, and security while preventing structural water damage from deteriorating seals or frames.
- DIY replacement is realistic for straightforward jobs using acrylic, polycarbonate, or single-pane glass, but requires precise measurement, careful sealing, and honest assessment of frame condition.
- Insulated glass units (IGUs) cost more upfront ($80–$200+ per window) but deliver significant energy savings in attached garages and cold climates compared to single-pane alternatives.
- Professional installation is worth the $50–$150 labor cost per window if the frame is warped, rotted, or you’re handling high-end specialty doors to avoid costly mistakes.
- The six-step DIY process—measure, remove old window, clean the opening, set new window with sealant, secure with screws or glazing points, and test—takes 1–3 hours per window when done correctly.
- Replace cracked, fogged, or misaligned windows immediately, as temperature changes, weather exposure, and garage door operation will worsen structural damage and compromise insulation over time.
Why Replace Your Garage Door Windows
Your garage door windows do more than let in light. They affect how your garage looks from the street, impact temperature control, and influence energy bills. A cracked or foggy window compromises all three.
Replaced windows improve curb appeal instantly, potential buyers and neighbors notice a freshly windowed garage door before anything else. From an energy perspective, modern insulated glass units (IGUs) and high-efficiency frames reduce heat loss in winter and solar gain in summer. If your garage is attached to your home, that means your HVAC system works less hard and your utility bills drop slightly.
There’s also the safety factor. A cracked window is a security liability, it signals an unmaintained property, and broken glass can fall during operation. Beyond that, some homeowners upgrade windows to include safety glass or frosted panes for privacy or to reduce glare on the driveway.
Signs Your Garage Door Windows Need Replacement
Visible cracks or missing panes are the most obvious red flag. Even hairline cracks expand with temperature changes and eventually spiderweb across the glass.
Condensation or fogging between panes means the seal has failed on an insulated unit. That IGU won’t provide the insulation it once did, and the window becomes a visual eyesore. You might see permanent moisture or mineral deposits that won’t wipe away.
Difficulty opening or closing the window suggests the frame has warped or settled. If your garage door jolts or hesitates when opening, a misaligned or stuck window might be binding the mechanism. Never force it, that leads to garage door opener damage.
Visible daylight around the frame edges indicates poor sealing. Weather stripping deteriorates or the frame has shifted, letting drafts in and conditioned air out. Rot or water stains at the base of the frame are serious: they mean water is entering and deteriorating the door structure. This is structural damage that demands immediate attention.
Types Of Replacement Windows For Garage Doors
Acrylic or polycarbonate panels are the affordable, lightweight choice. They’re shatter-resistant, which is a safety plus, and they handle impact better than glass. Downside: they scratch and cloud over time, especially with UV exposure. They also don’t insulate as well as sealed glass. For a garage that isn’t temperature-controlled, they work fine: for an attached garage in a cold climate, they’re less than ideal.
Single-pane glass is the traditional option. It’s clear, affordable, and straightforward to install, but it offers minimal insulation. A single pane flexes in the frame and can crack from pressure changes during door operation.
Insulated glass units (IGUs) consist of two or three panes separated by an air gap (often filled with argon gas) and sealed at the edges. They cost more upfront but deliver real insulation value, especially in attached garages or climates with temperature extremes. The sealed air space also provides some sound dampening. The trade-off: if the seal fails (usually after 10–15 years), the whole unit must be replaced.
Tempered or laminated safety glass is stronger and less likely to shatter. Building codes sometimes require safety glass in commercial or high-traffic residential doors. It’s pricier but makes sense if durability is a priority.
DIY Replacement vs. Professional Installation
DIY replacement is realistic if you’re comfortable with basic hand tools, careful measurement, and patience. Expect 1–3 hours per window, depending on how it’s mounted. You’ll avoid labor costs, which typically run $50–$150 per window, but mistakes can cost more than the window itself. A misaligned window can bind the door opener or fall out of the frame, and improper sealing invites water damage.
This job demands precision and honesty: if the frame is warped, rotted, or severely misaligned, DIY isn’t the answer. Many garage doors use frames that are integrated into the door structure, making removal risky without the right equipment.
Professional installation is worth considering if the frame is damaged, the door is high-end or specialized, or you’re uncomfortable working at height or handling glass. Professionals have the tools to remove and reinstall windows without damaging the door or frame. They also carry insurance if something breaks during the job. Cost varies by region and window type, but HomeAdvisor’s cost estimator can give you a ballpark figure for your area.
For single acrylic or polycarbonate panels, DIY is low-risk. For high-end IGUs or multiple windows, professional installation is safer.
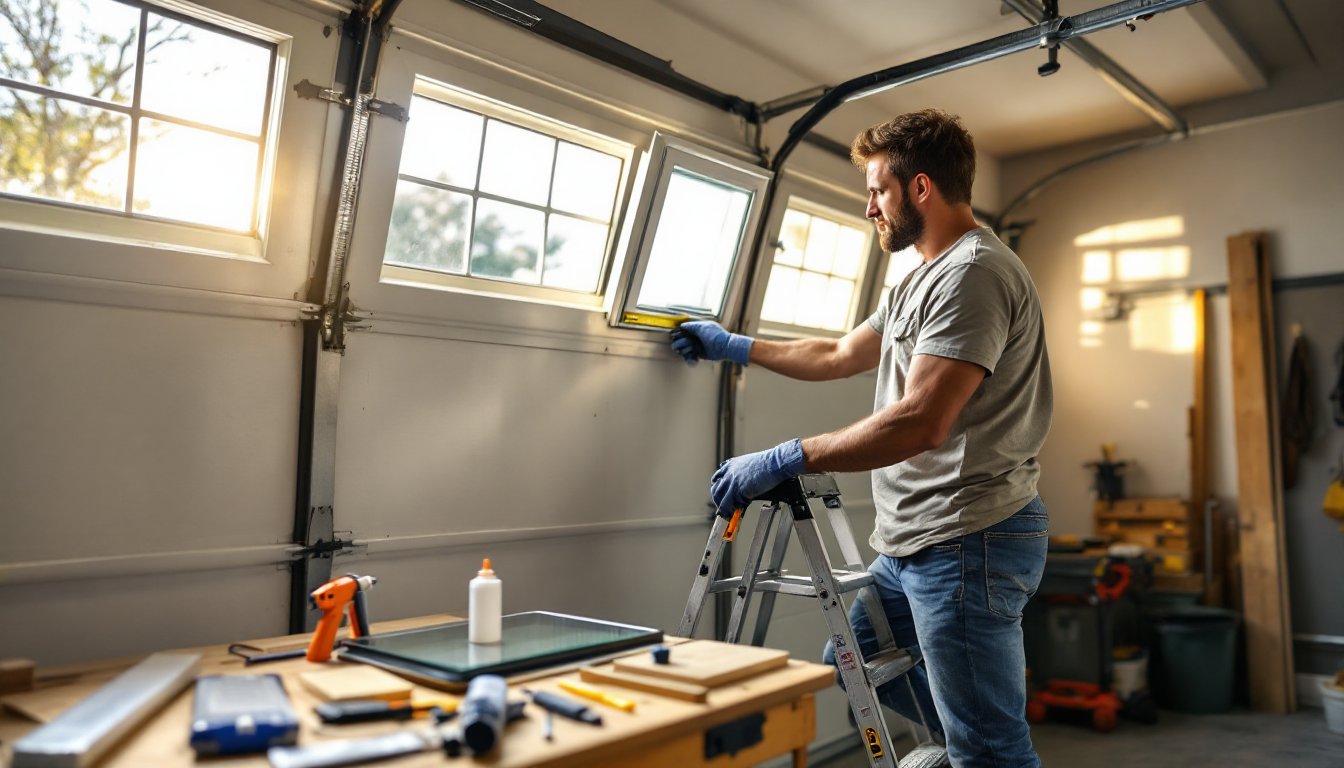
Step-By-Step DIY Replacement Process
Materials you’ll need:
- Replacement window or pane (measure your opening first, width and height from inside the frame)
- Silicone sealant or urethane caulk designed for exterior use
- Glazing points or screws (depending on your frame type)
- Shims or plastic shim stock for leveling
Tools:
- Tape measure and pencil
- Flathead screwdriver or glazing tool
- Caulking gun
- Utility knife
- Level
- Work gloves and safety glasses (mandatory, broken glass is sharp)
- Flashlight (garage windows are often high up)
Step 1: Measure and order the replacement window. Open the garage door and measure the window opening in three places (top, middle, bottom for width: left, center, right for height). Use the smallest measurement to ensure a snug fit. Write down the exact dimensions. Modern garage door frames often have standard sizes like 6″ × 6″ or 10″ × 10″, but never assume, measure every time. Order your replacement panel with this spec.
Step 2: Remove the old window. If it’s held by screws, use a screwdriver to back them out slowly, don’t yank. If it’s caulked in, run a utility knife around the perimeter to break the seal, then carefully pry the frame out using a flathead screwdriver. Work slowly: rushing risks breaking the frame. Dispose of broken glass carefully in a sturdy box.
Step 3: Clean and prep the opening. Remove old caulk, glazing points, or debris. Use a brush or damp rag to clear dust. Let the frame dry completely. If there’s rot or water damage, this isn’t a DIY fix, the frame must be replaced by a professional.
Step 4: Set the new window. Apply a bead of silicone sealant around the frame perimeter (about 1/4″ wide). Press the new panel into the opening, ensuring it’s centered. Use shims to level it if needed, the window must sit square, not twisted. Check with a level.
Step 5: Secure and seal. Depending on your frame, drive screws or install glazing points around the edge (typically every 6–8 inches). Don’t over-tighten, you’ll crack the glass. Once secured, apply a second bead of sealant around the outside edge to weatherproof the joint. Smooth it with a wet finger or caulking tool.
Step 6: Test and cleanup. Let the sealant cure per manufacturer instructions (usually 24 hours). Open and close the garage door several times to confirm smooth operation. The window shouldn’t bind or rattle.
Cost Considerations And Money-Saving Tips
Garage window replacement costs depend on material, size, and whether you go DIY or hire help.
Acrylic or polycarbonate panels run $20–$60 per window. These are the budget option and fine for single-pane replacements in unheated garages.
Single-pane glass costs $30–$100 per window, depending on size and thickness.
Insulated glass units (IGUs) run $80–$200+ per window. High-end triple-pane units in extreme climates cost more. If your garage is attached to your home or you live somewhere with hard winters, the energy savings justify the upfront cost.
Labor adds $50–$150 per window if you hire a professional. Angi’s contractor network can connect you with local installers and provide estimates.
Money-saving tips: Buy in bulk if replacing multiple windows, suppliers often discount orders of three or more. Shop for sales in spring or fall when renovation demand is lower. Consider acrylic for non-critical windows (less visible areas) and save insulated glass for prominent or thermally critical openings. If your whole door needs replacement, sometimes a new door costs less than replacing every individual window, so get a quote before committing to piecemeal updates.
For complex or multi-window jobs, Bob Vila’s contractor advice offers guidance on finding skilled, vetted installers in your area.
Conclusion
Garage door window replacement is a manageable DIY project if the frame is sound and you’re methodical about measurement, sealing, and alignment. The real payoff comes in curb appeal, insulation, and avoiding water damage down the road. If you’re unsure about frame integrity or dealing with a high-end or specialized door, get a professional assessment first. Either way, don’t procrastinate on a cracked window, weather and gravity only make the problem worse.